LED WALL SCREEN

Step-by-Step Guide to Mapping ​a LED Wall with a NovaStar Processor

Article summarized description. 

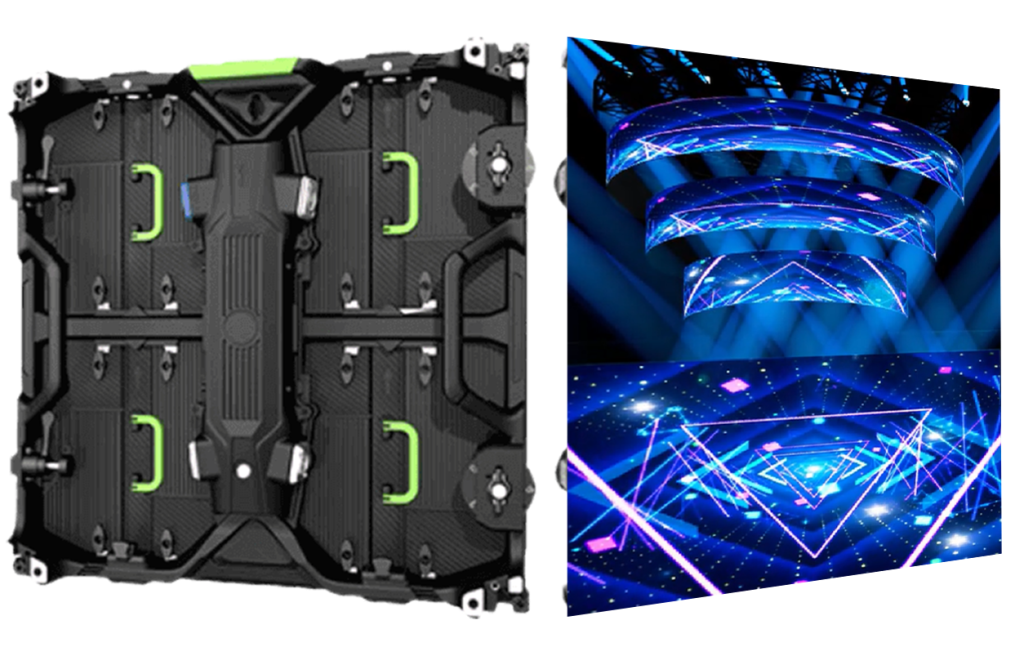
Led Panel from LED Walls Pro

Mapping a LED WALL with a novastar processor

Step 1: Hardware Setup (Novastar Processor Running under NovaLCT)

  • Connect power and HDMI from your PC to the processor for video input.
  • For third-party processors, use a DVI cable from the output to the input on the NovaStar card.
  • Connect USB from the NovaStar card and CAT5 cables to the panels.

Step 2: Software Setup

  • Launch the NovaLCT software.
  • Log in as admin/admin (Advanced Synchronous System user).
  • Open Screen Configuration and verify USB port connection.

Step 3: Receiving Card Setup

  • In the Receiving Card Page, click Read from Receiving Card.
  • Sending Port (From Processor), Port Number (From Processor) and Receiving Card Number (From Panel)
  • Ensure the correct pixel size (e.g., 128×256 or 168×168) is displayed.
  • Backup the rcg file by saving it to your computer.

Step 4: Screen Connection

  • Reset all and enter the correct rows and columns (e.g., 4×2) for your wall.
  • Click and drag to map the wall in front-of-screen view.
  • This is what it would look like for the front view
  • Hit Send to Hardware to configure the wall.

Step 5: Save Configuration

  • To make the configuration permanent, click Save in the processor.
  • Also, save a backup by selecting Save to File for future use.


Learn more about our LED wall product range 

For more details on NovaStar processors, visit the official NovaStar page.

CATEGORIES

RELATED ARTICLES

Ledwallspro Logo

READY FOR THE NEXT PROJECT?

BRING YOUR VISION TO LIFE

get expert advice and a customized LED display solution for your events.

GOT QUESTIONS?

CALL US FOR MORE INFORMATION

Talk to us about your LED requirements. Prepare details such as setting, dimensions or size you need.

#1 TRUSTED LED WALL SUPPLIER

Ledwallspro Logo